Quick Start
Get copick installed, open your first project, and see what you can do with it — in a few minutes.
Install
copick runs on Python 3.10+ on Linux, macOS, and Windows. Install it with pip. The all extra pulls in the fsspec
backends copick is tested against (local, s3, smb, ssh); a separate smb extra is also available.
Note
copick>=1.2.0 will fail to install with pip~=25.1.0. We recommend pip>=25.2 or
uv pip when installing copick.
Open your first project
A copick project is described by a small JSON config file. The copick config
commands build one for you — no hand-editing required. Pick the tab that matches where
your data lives.
Build a project that streams tomograms and annotations straight from the CZ cryoET Data Portal — no downloads. Here we use dataset 10301:
The pickable object types are discovered from the dataset automatically, so the
tomograms and the existing (read-only) portal annotations are ready to use right
away. Anything you create is written to the local ./overlay directory. Pass
--dataset-id more than once to combine several datasets into one project.
Build a local project and import your own reconstructions. Each tomogram is converted to a multiscale OME-Zarr pyramid so it streams efficiently.
# 1. Create a local project and declare the objects you'll annotate.
#    --objects format: name,is_particle,[radius],[pdb_id]  (repeat per object)
copick config filesystem \
    --config config.json \
    --overlay-root ./my_project \
    --objects ribosome,True,150,7P6Z \
    --objects membrane,False \
    --proj-name my-project --proj-description "My cryo-ET dataset"

# 2. Import a tomogram (file type and voxel size are read from the MRC header;
#    the run is named after the file unless you pass --run).
copick add tomogram TS_001.mrc --config config.json --tomo-type wbp

# 3. Or batch-import a whole folder of MRCs (run name taken from each filename).
copick add tomogram "tomograms/*.mrc" --config config.json --tomo-type wbp
copick also imports tomograms and picks from RELION and Dynamo — see the
add CLI reference.
Skip the --config flag
Set export COPICK_CONFIG=/path/to/config.json once and every copick command picks it up automatically.
See your data
With a config.json in hand, here are three ways to dig in.
Browse in the terminal. Explore runs, tomograms, picks, meshes, and segmentations in an interactive TUI:
Script it with Python. The object-oriented API mirrors the data model — root → runs → voxel spacings → tomograms, plus picks/meshes/segmentations:
"""Print all objects and runs in a copick project."""

import copick

# Initialize the root object from a configuration file
root = copick.from_file("path/to/config.json")

# List all available objects
obj_info = [(o.name, o.label) for o in root.pickable_objects]

print("Pickable objects in this project:")
for name, label in obj_info:
    print(f"  {name}: {label}")

# Execute a function on each run in the project
runs = root.runs

print("Runs in this project:")
for run in runs:
    print(f"Run: {run.name}")
    # Do something with the run
Visualize and annotate. Open the project in a 3D viewer to inspect tomograms and create picks. See the ChimeraX-copick tutorial, or the ecosystem for napari-copick, CellCanvas, and the web viewer.
What can you do?
copick ships a toolbox of processing tools — convert between picks, segmentations, and meshes, clean up and filter annotations, fit surfaces, and more — all from the command line. Scroll through a few, or browse the full gallery.
-
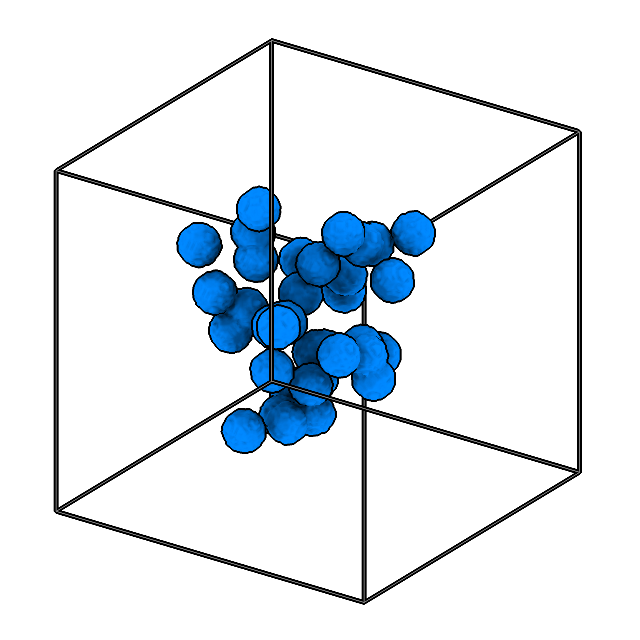
Convert picks to segmentation volumes by painting spheres.
-
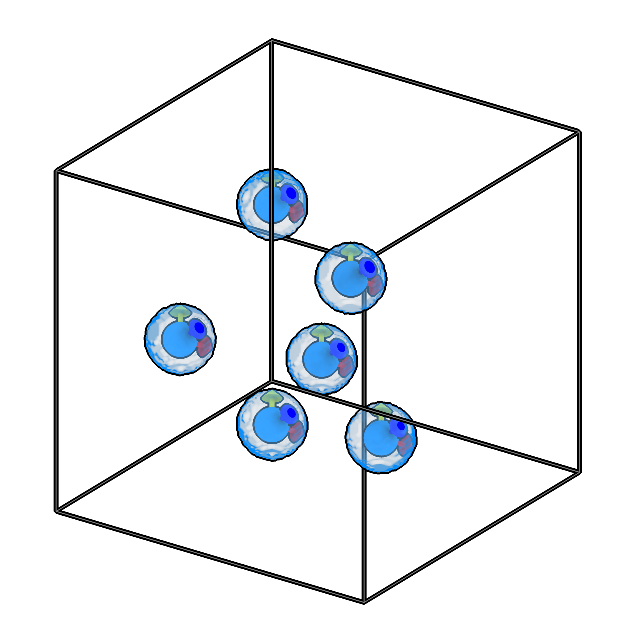
Convert segmentation to picks.
-
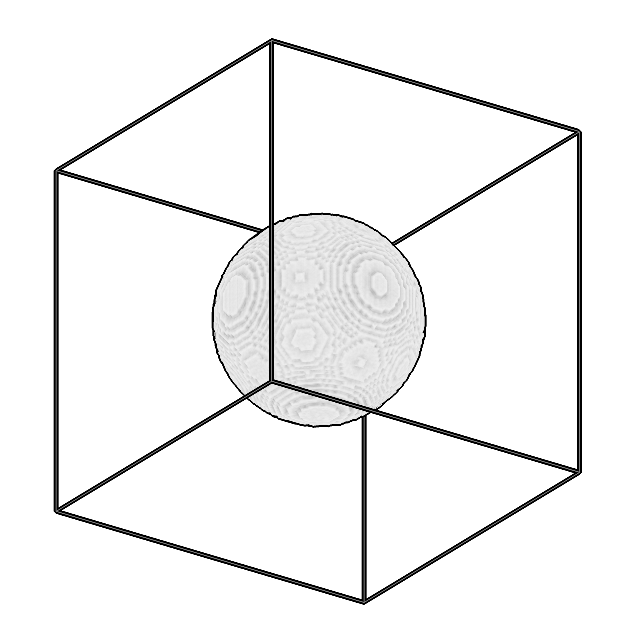
Convert meshes to segmentation volumes.
-
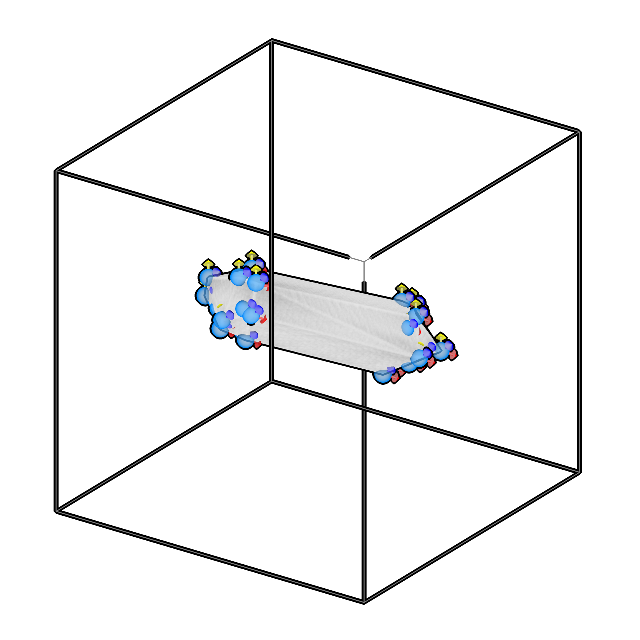
Convert picks to meshes using convex hull or alpha shapes.
-
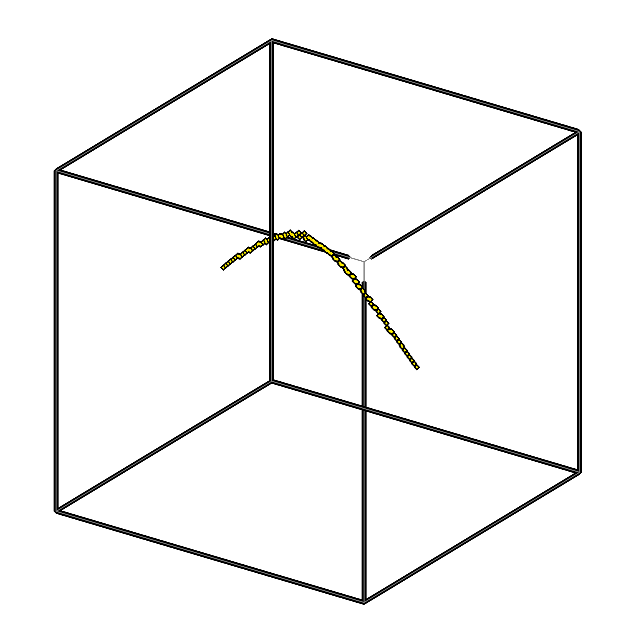
Skeletonize segmentations in 3D using pattern matching.
-

Downsample tomograms via Fourier rescaling.
-
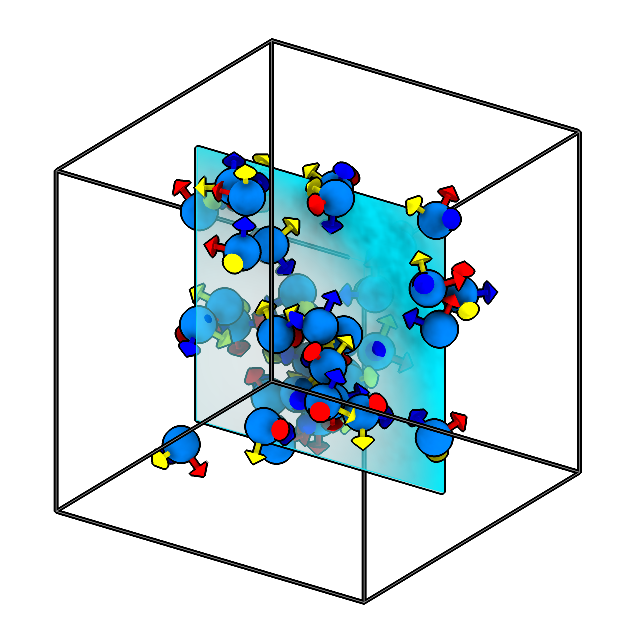
Limit picks to those within distance of a reference surface.
-
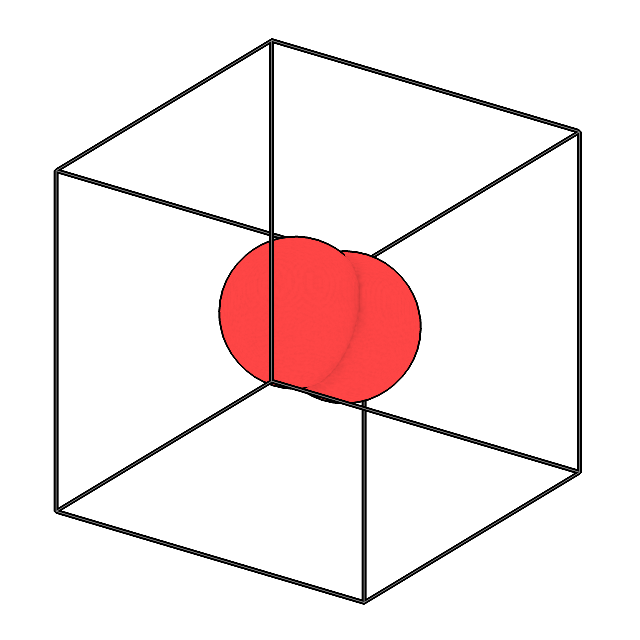
Perform boolean operations between meshes.
Next steps
-
Processing tools
The full visual gallery of every convert / process / logical tool.
-
Ecosystem tools
Viewers and apps that build on copick — ChimeraX, napari, the web, and more.
-
CLI reference
Every
copickcommand, with options and examples. -
Python API
The object-oriented API for scripting copick projects.
-
Tutorials
Step-by-step, end-to-end workflows.
-
Other backends
Read from the CZ cryoET Data Portal or an mlcroissant manifest.
Other storage backends
The two paths above cover local files and the CZ cryoET Data Portal, but a copick project's data and overlay can live almost anywhere — pick the setup that matches your storage:
- Local / Shared — data on a local or shared filesystem.
- AWS S3 / SSH — data on object storage or a remote server.
- CZ cryoET Data Portal — read from the portal API and write to any fsspec overlay.
- mlcroissant — read from a standards-compliant
Croissant 1.1
manifest + CSV sidecars under a
Croissant/subdirectory. Live auto-sync writes keep the manifest up to date as you annotate.