Membrain
Segmenting membranes with membrain-seg
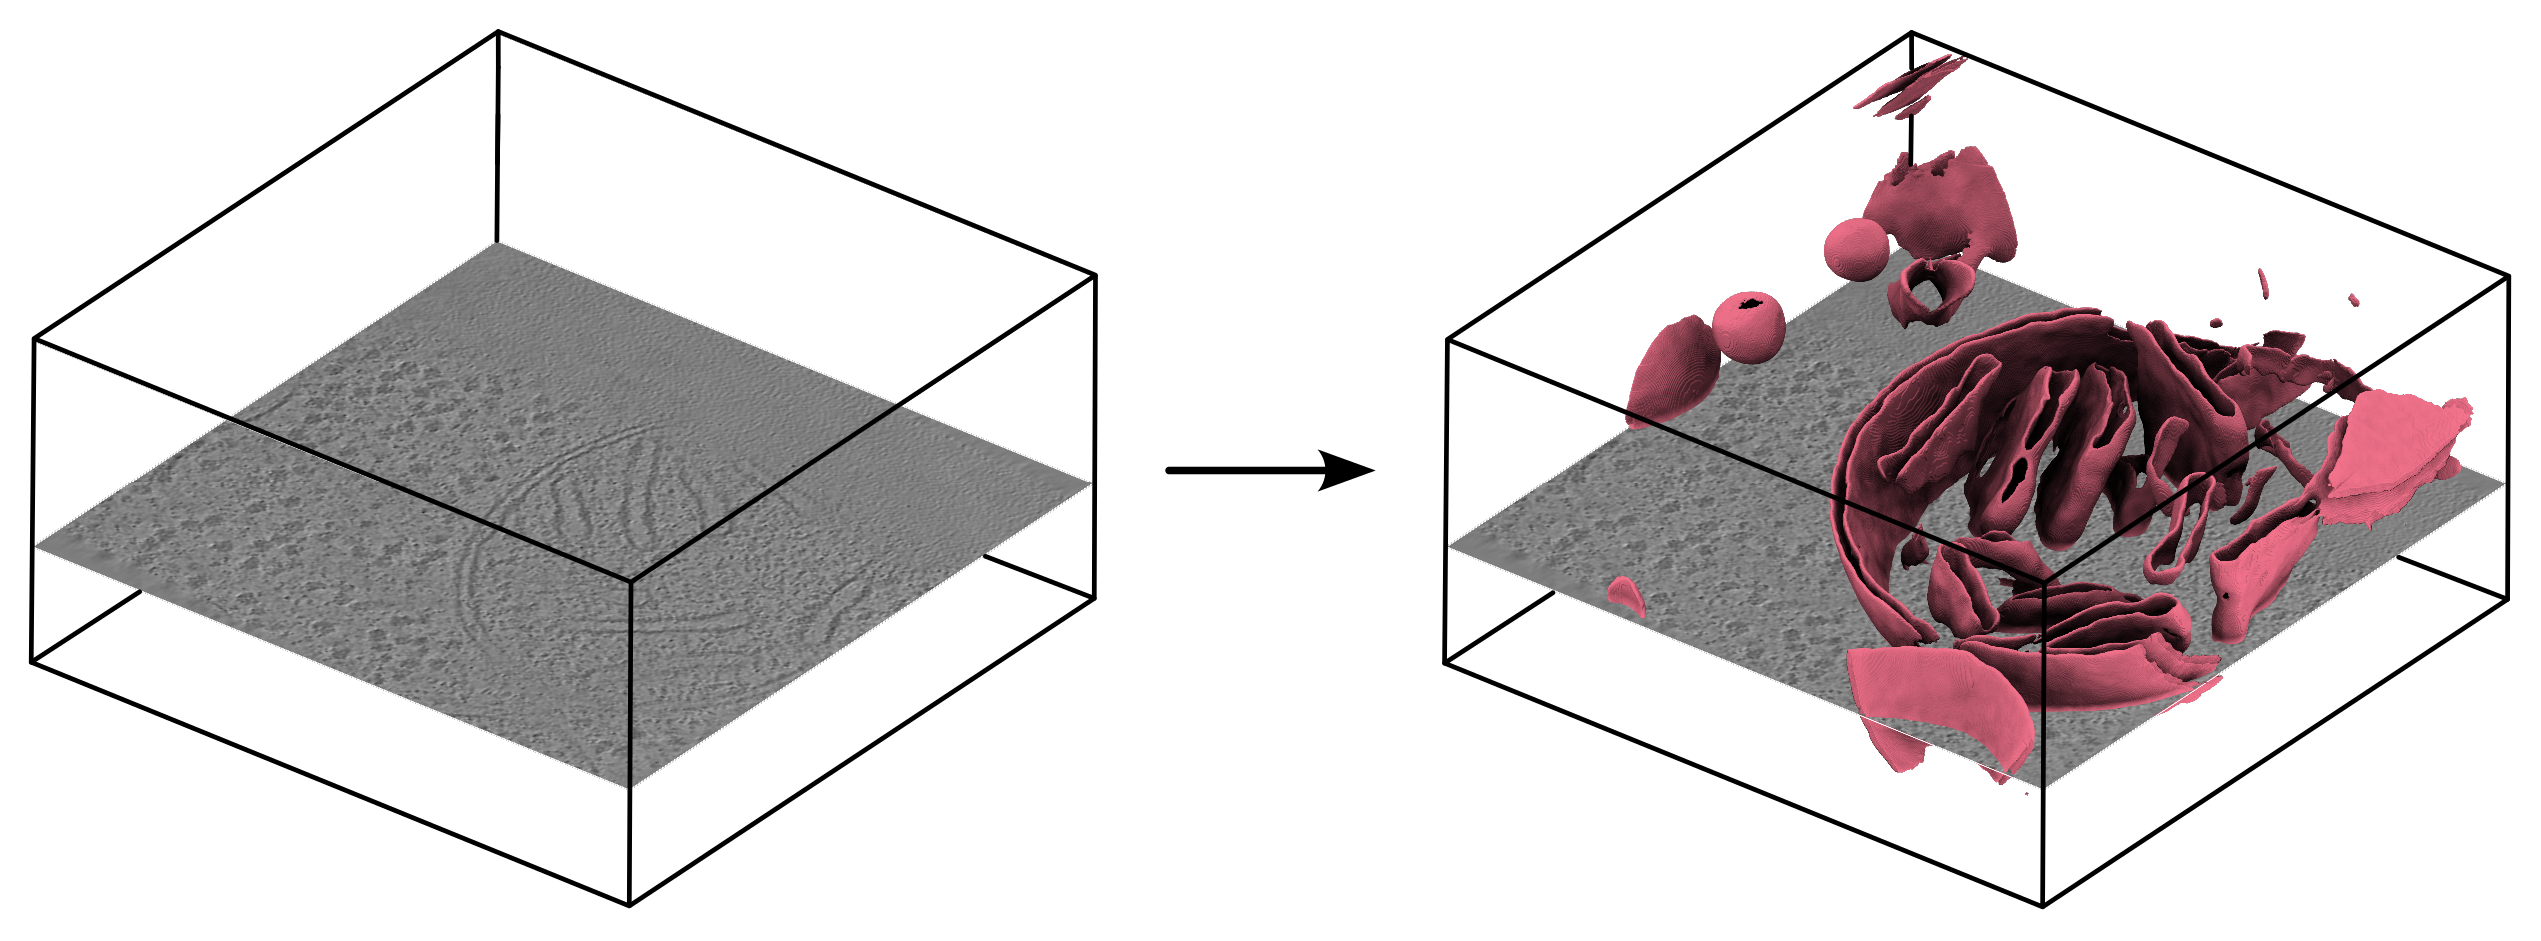
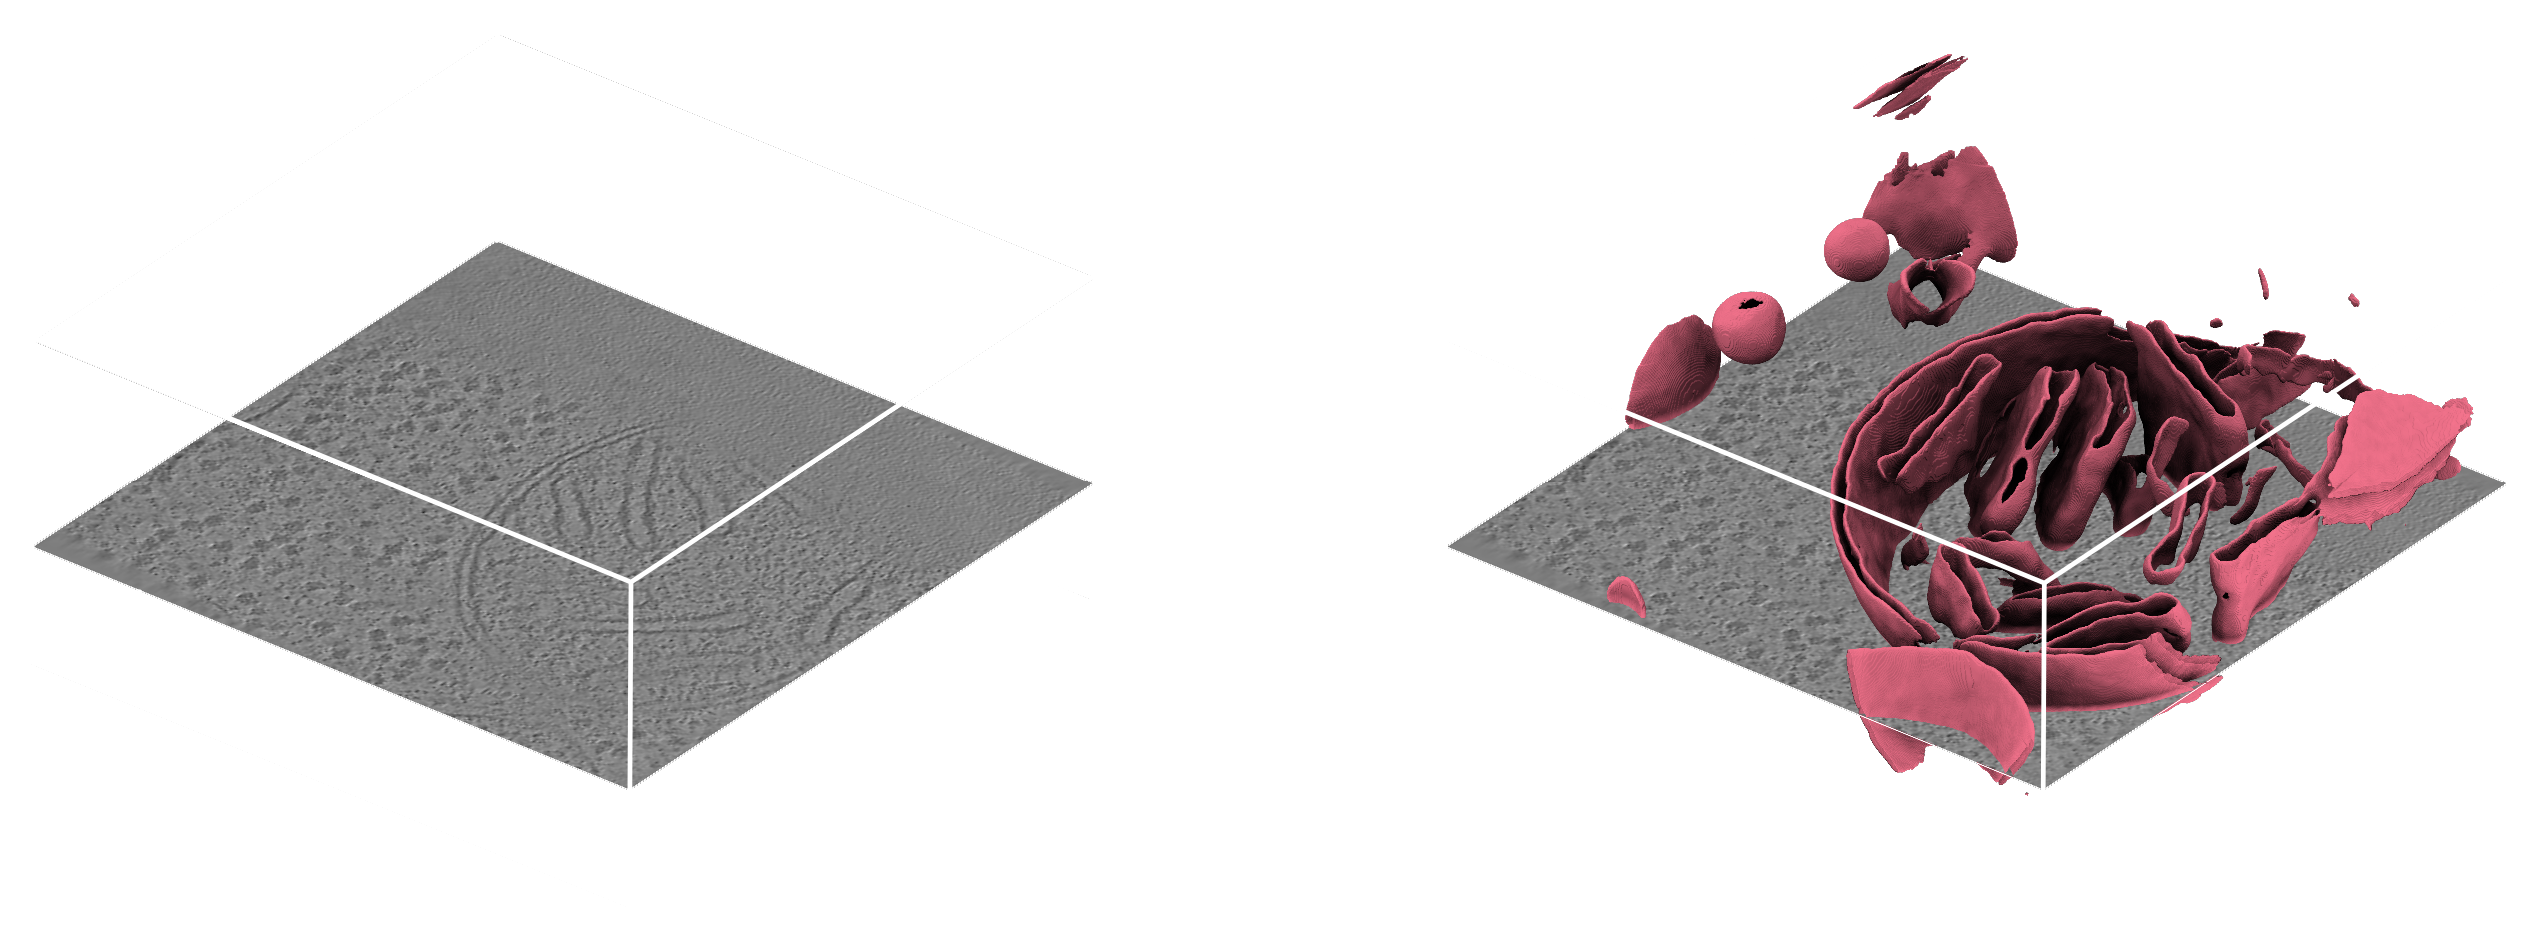
membrain-seg is a pretrained 3D U-Net for segmenting
membranes in cryo-ET. The copick-torch plugin wraps it as a copick CLI command,
copick inference membrain-seg, so you can run it directly against a copick project: it reads each
tomogram, predicts membranes, and writes the result back as a segmentation — no notebook required.
In this tutorial we run it on the in-situ Chlamydomonas reinhardtii tomograms of CZ cryoET Data Portal dataset 10301, whose lamellae are full of membranes (ER, Golgi, vesicles, the chloroplast envelope and thylakoids).
Please cite membrain-seg
copick only wraps the tool — the segmentation model and method are the work of the membrain-seg authors. If membrain-seg contributes to your research, please cite the original project in addition to copick:
What you get
A multilabel segmentation membranes:membrain-seg/1 per run (label 1 = membrane,
0 = background), written to your project overlay. Because it is multilabel, the membranes
name does not need to be a registered pickable object — there is nothing to add to the config.
Step 0: Prerequisites
The command ships with copick-torch, which bundles membrain-seg itself:
On a CPU-only host, pull the CPU build of PyTorch:
Weights download automatically — but bring a GPU
The first invocation downloads the pretrained checkpoint (membrain_seg_v10.ckpt) and caches it
inside the package; you do not need to fetch any weights by hand. Inference is a sliding-window
3D U-Net, so a CUDA GPU is strongly recommended. It will fall back to CPU, but expect minutes
per tomogram there.
Step 1: Set up the project
Create a copick project backed by the Data Portal tomograms, storing locally created annotations in an
overlay directory (swap --overlay/--dataset-id for your own data source):
copick config dataportal \
  --dataset-id 10301 \
  --overlay /home/bob/copick_membrain/ \
  --output config.json
The tomograms in this dataset are weighted back-projections at 7.84 Å, addressed as wbp@7.84. For a
walk-through of the Data Portal integration, see the Data Portal setup
tutorial.
Step 2: Segment membranes
Point the command at your config and tell it which tomograms to read (--tomo-alg and
--voxel-size):
This writes membranes:membrain-seg/1@7.84 for each run — a binary membrane mask aligned to the
input tomogram.
Useful options
--threshold(default0) cuts the raw network output into the binary mask. Raise it for a more conservative segmentation (fewer membrane voxels), lower it to capture fainter membranes.--session-id(default1) sets the session of the output segmentation, so you can keep several runs side by side (e.g. one per threshold).
See the copick inference membrain-seg reference for the
full option table.
It segments every run
membrain-seg has no run filter — it processes all runs in the project (18 for dataset 10301).
To iterate quickly, start from a project with just a handful of runs before turning it loose on a
whole dataset.
How membrain-seg runs under the hood
The tomogram is normalized and segmented with a 160³ sliding window at 50% overlap and Gaussian
blending, with 8-fold test-time augmentation (mirroring) averaged into the final prediction. These
settings are baked in; you only choose the input tomogram and the output --threshold.
Step 3: Inspect and use the result
Open the project in ChimeraX-copick or napari-copick to overlay the new
membranes:membrain-seg/1 segmentation on the tomogram and check the prediction. If membranes are
over- or under-segmented, re-run Step 2 with a different --threshold (and a fresh --session-id to
compare).
From here the mask feeds straight into copick's processing tools — for
example, copick convert seg2mesh turns it into a surface mesh for visualization or downstream
geometry operations.
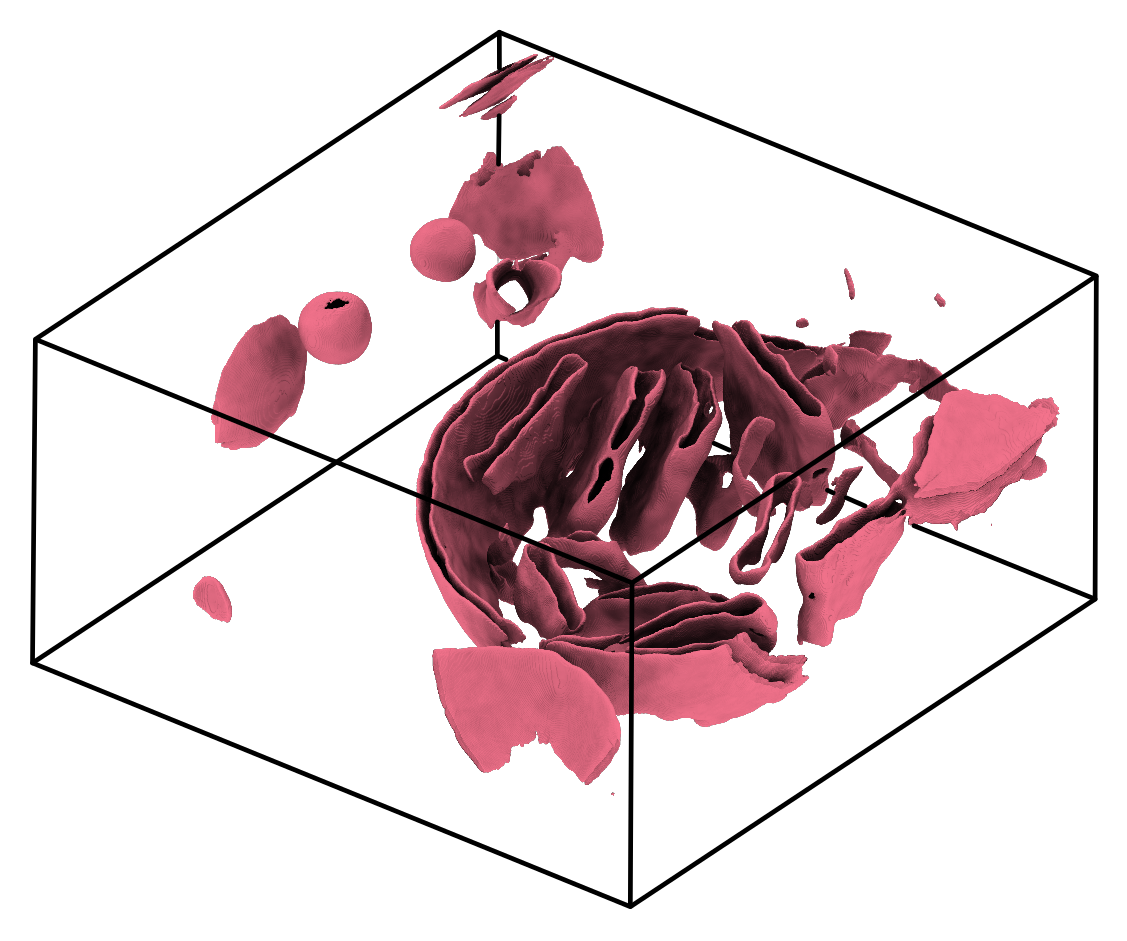

membranes:membrain-seg/1) overlaid on
run 14069 — membranes picked out
across the lamella in a single pass.Full pipeline (copy/paste)
# 1. install (CPU host: prefix with UV_TORCH_BACKEND=cpu uv)
pip install copick-torch
# 2. create a project from Data Portal dataset 10301
copick config dataportal \
--dataset-id 10301 \
--overlay /home/bob/copick_membrain/ \
--output config.json
# 3. segment membranes (downloads the model on first run)
copick inference membrain-seg \
  --config config.json \
  --tomo-alg wbp \
  --voxel-size 7.84